
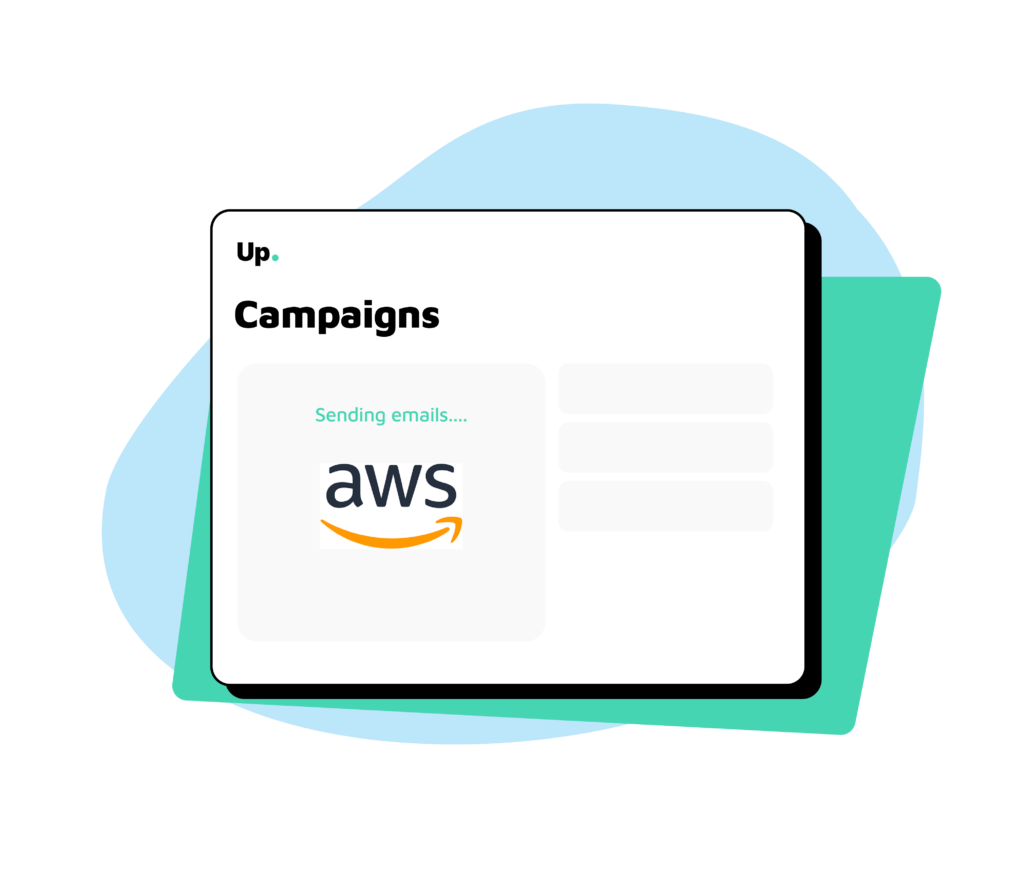
You have created and authenticated your Amazon SES account, great! Now, it’s time to connect it to Up so you can start sending email campaigns and manage mailing lists. This can be done in just a few steps, described below.
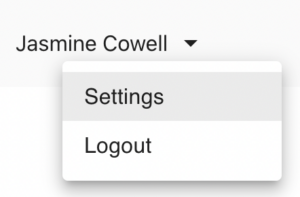
1. On the top right, click on your name, then on settings.
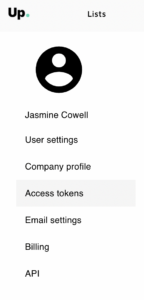
2. Go to Access tokens.
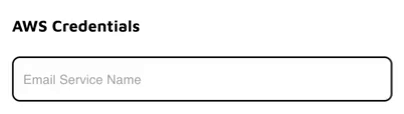
3. Fill up the Email Service Name field with AWS.
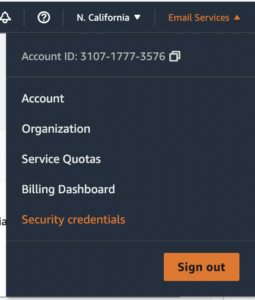
4. Log in to your Amazon SES console and click on Security Credentials on the top right.
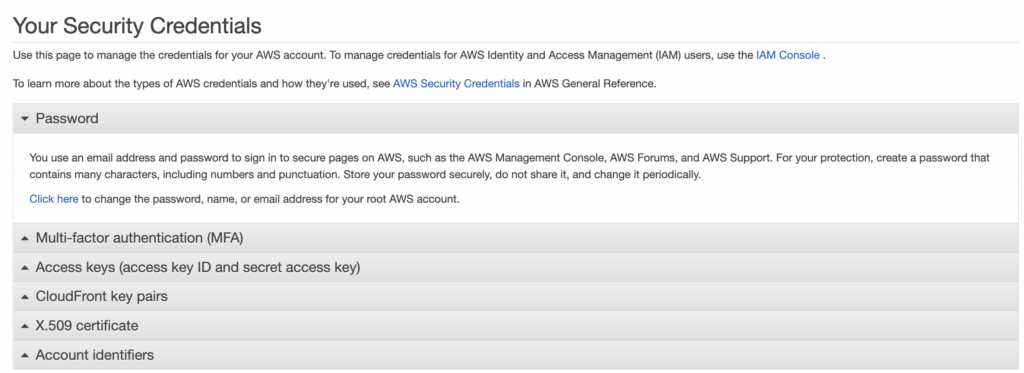
5. Click on the option Access keys (access key ID and secret access key) > Create New Access Key.
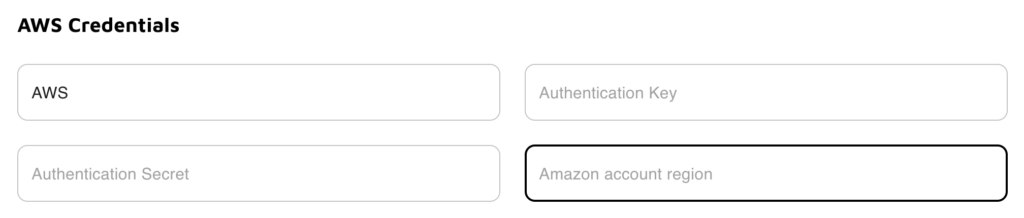
6. Paste the access key ID and the secret key in the fields Authentication Key and Authentication Secret, respectively, in your Up access tokens dashboard.
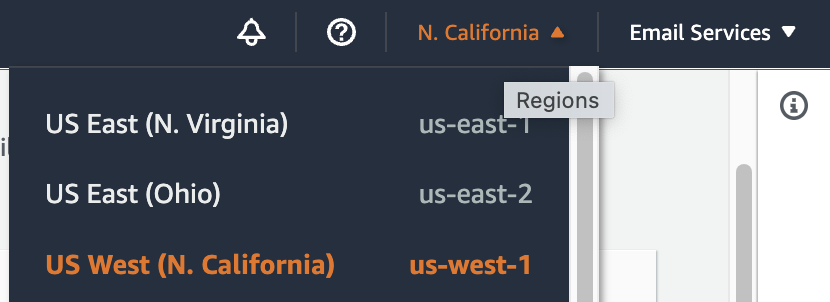
7. Go back to your Amazon SES console and copy the code associated with the region you are using for your Amazon SES. For example, in the image below, the region is US West (N. California) and the code is us-west-1 (this is the information you need to copy).
8. Back into your Up Access Token dashboard, paste the region code into the Amazon account region field.
9. Fill up the Domain field with your domain.
10. Double check if the Domain Verification field shows as Success and click on Save.
That’s it! You can now start sending beautiful and automated email campaigns and managing email lists from Up.
Have issues with any of these steps? Let us know at contact@replyup.com and our team will jump in to help.
Next Steps
Next, click here to learn how to request to be removed from the sandbox and get production access.